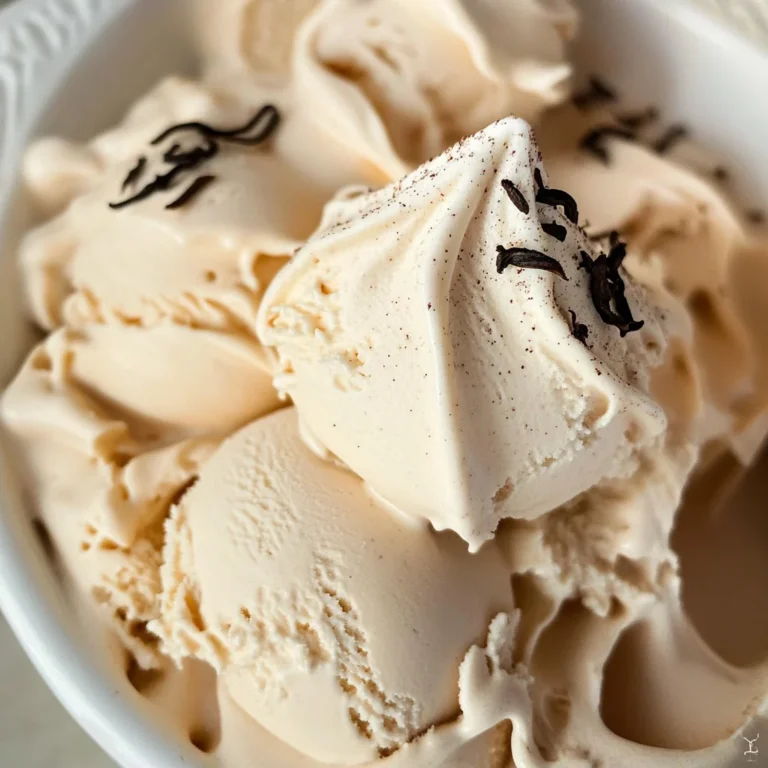
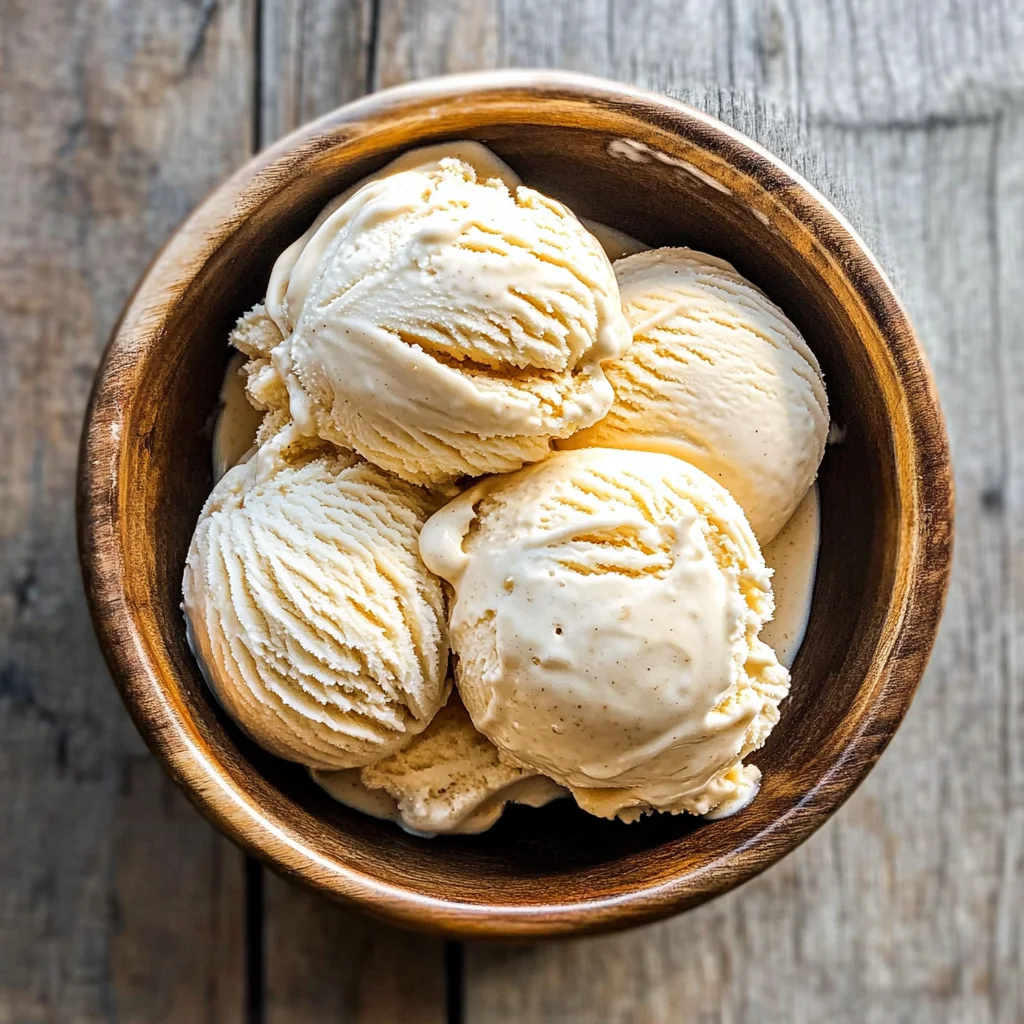
Homemade Maple Ice Cream
If you’re looking for a delightful treat that captures the essence of cozy gatherings and sweet memories, then you’ve stumbled upon the perfect recipe: Homemade Maple Ice Cream. This creamy dessert is a family favorite, bringing smiles to both kids and adults alike. Whether it’s a busy weeknight or a special occasion like birthdays or holidays, this ice cream is sure to impress!
What makes this Homemade Maple Ice Cream truly special is its simple yet rich flavor. The light maple notes blend beautifully with desserts like apple crisp or can be savored on its own. It’s one of those recipes that feels comforting and indulgent, making it a must-try for any ice cream lover.
Why You’ll Love This Recipe
- Easy to Make: With just a few simple steps, you’ll have homemade ice cream ready to enjoy.
- Family-Friendly: Kids love the sweet maple flavor, making it a hit at any gathering.
- Flexible Timing: You can make this ahead of time and store it in the freezer for later enjoyment.
- Versatile Pairing: This ice cream pairs wonderfully with various desserts or can stand alone as a delicious treat.
- Wholesome Ingredients: Made with real ingredients, this dessert is both tasty and satisfying.
Ingredients You’ll Need
To make this Homemade Maple Ice Cream, you’ll need some simple, wholesome ingredients that come together beautifully. Here’s what you’ll need:
For the Base
- 6 egg yolks
- 3/4 cup maple syrup (Grade B, see notes)
- 1 tsp arrowroot (tapioca starch, or cornstarch)
- 1/4 tsp sea salt
For the Creamy Mixture
- 1 1/2 cups half and half
- 1 1/2 cups heavy cream
- 1 tsp vanilla extract
These ingredients create a silky smooth custard that transforms into the most delightful ice cream.
Variations
One of the best things about homemade ice cream is how flexible it can be! Feel free to get creative with these variations:
- Add some crunch: Stir in crushed nuts like pecans or walnuts for added texture.
- Mix in flavors: Swirl in some caramel or chocolate sauce right before freezing for an extra layer of flavor.
- Fruit infusion: Fold in fresh fruits like blueberries or strawberries for a fruity twist.
- Spice it up: A dash of cinnamon or nutmeg can add warmth and depth to your ice cream.
How to Make Homemade Maple Ice Cream
Step 1: Whisk the Egg Mixture
Start by whisking together the egg yolks, maple syrup, arrowroot, and sea salt until fully combined. This step creates the rich base for your ice cream. Whisking well ensures everything blends nicely together.
Step 2: Heat the Mixture
Next, whisk in the half and half into your egg mixture. Cook over medium-high heat while whisking constantly until it thickens slightly but doesn’t boil. This gentle cooking process helps develop a creamy custard that will give your ice cream its delicious texture.
Step 3: Add Cream and Vanilla
Once thickened, remove from heat and whisk in the heavy cream and vanilla extract. Mixing in these ingredients enhances the richness of your ice cream while adding a lovely flavor.
Step 4: Strain and Chill
Pour the mixture through a strainer into another bowl to catch any stray bits. Chill your custard in the refrigerator for at least 4 hours; chilling allows flavors to meld beautifully!
Step 5: Freeze Your Ice Cream
Now comes the fun part! Freeze the chilled mixture according to your ice cream maker’s instructions. The ice cream is done when it stands up on a spoon—creamy perfection!
Step 6: Final Freezing
Transfer your freshly churned ice cream into an airtight container and place it in the freezer for an additional 4-6 hours. This final freeze ensures it’s firm enough to scoop when you’re ready to serve.
Now that you know how easy it is to make Homemade Maple Ice Cream, I hope you feel inspired to whip up this delightful treat soon! Enjoy every scoop!
Pro Tips for Making Homemade Maple Ice Cream
Making ice cream at home can be a delightful experience, especially when you have a few handy tips up your sleeve!
-
Use Quality Maple Syrup: The flavor of your ice cream hinges on the syrup you choose. Opt for Grade B maple syrup for its richer and deeper flavor that truly shines in this recipe.
-
Whisk Constantly: When cooking the custard, constant whisking is key to prevent the eggs from curdling. This ensures a smooth, creamy texture without any lumps.
-
Chill Thoroughly: Allowing the custard to chill in the refrigerator for at least 4 hours (or overnight) enhances the flavors and improves the ice cream’s final texture. Patience pays off here!
-
Don’t Rush Freezing: After churning, freezing the ice cream for an additional 4-6 hours allows it to firm up properly. This step is crucial if you want that perfect scoopable consistency.
-
Keep It Covered: When storing your ice cream in the freezer, cover it tightly with plastic wrap or an airtight lid to prevent freezer burn. This helps retain its creamy texture and rich flavor.
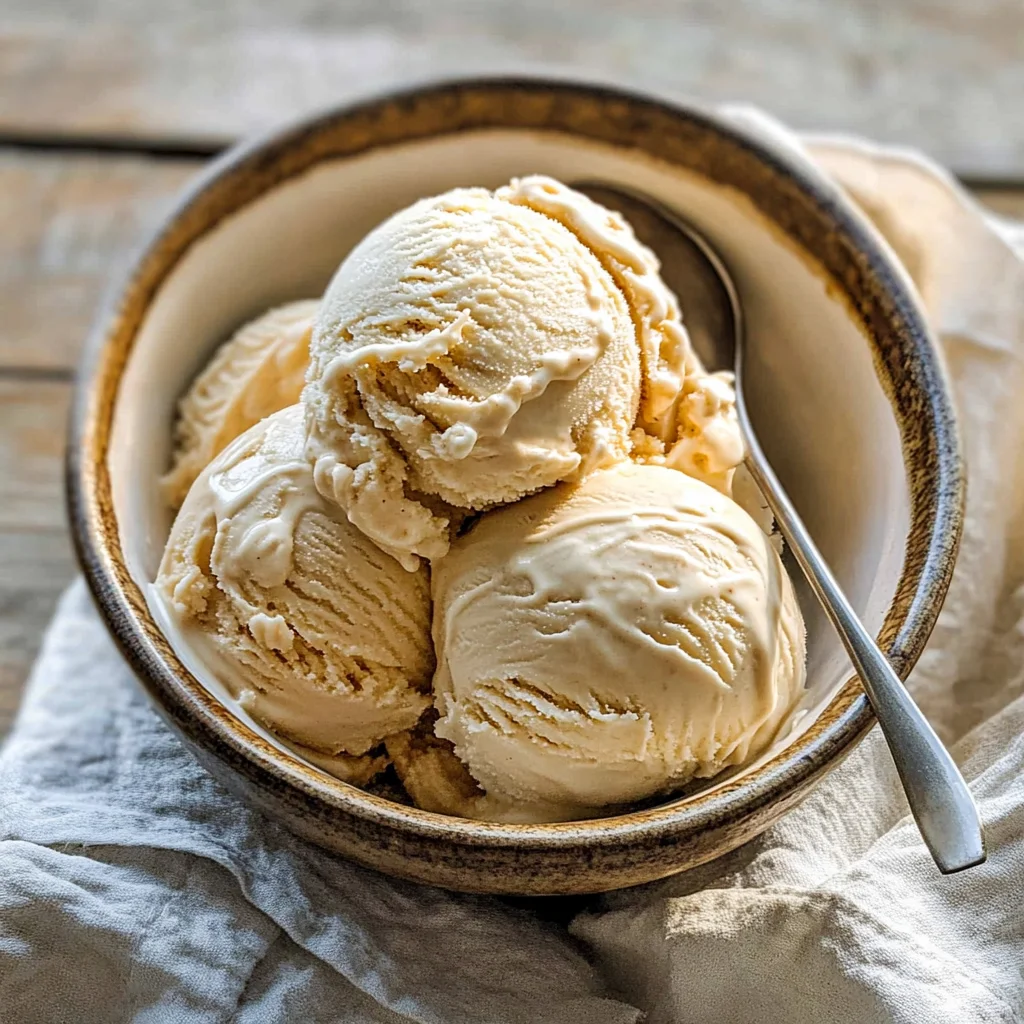
How to Serve Homemade Maple Ice Cream
Serving your homemade maple ice cream can be just as fun as making it! Here are some creative ideas to make your dessert stand out.
Garnishes
- Chopped Nuts: A sprinkle of toasted pecans or walnuts adds a delightful crunch and complements the maple flavor beautifully.
- Fresh Berries: Strawberries or blueberries provide a refreshing contrast and a pop of color on your plate.
- Maple Drizzle: A light drizzle of extra maple syrup over the top creates an enticing glaze that enhances both presentation and taste.
Side Dishes
- Apple Crisp: The warm, spiced flavors of apple crisp pair perfectly with the creamy coolness of maple ice cream, creating a comforting dessert duet.
- Ginger Cookies: The zingy spices of ginger cookies bring out the sweetness of the maple while adding a chewy texture that contrasts nicely with the smooth ice cream.
- Chocolate Brownies: Rich, fudgy brownies provide a decadent base for scooping up your homemade ice cream, making every bite utterly indulgent.
- Grilled Peaches: Sweet grilled peaches drizzled with honey offer a juicy and slightly caramelized side that complements the maple flavor wonderfully.
Enjoy your delicious homemade maple ice cream and let it bring warmth and joy to your gatherings!
Make Ahead and Storage
This Homemade Maple Ice Cream is perfect for meal prep! You can easily make it ahead of time, allowing the flavors to meld beautifully while saving you time on busy days.
Storing Leftovers
- Store any leftover ice cream in an airtight container to keep it fresh.
- Place a sheet of wax paper or plastic wrap directly on the surface of the ice cream before sealing the container to prevent ice crystals.
- Enjoy the leftover ice cream within two weeks for the best taste and texture.
Freezing
- If you want to make a large batch, freeze the ice cream in a larger, flat container.
- This helps it freeze evenly and makes scooping easier later.
- For best results, allow it to sit at room temperature for about 5-10 minutes before scooping.
Reheating
- There’s no need to reheat this ice cream; simply let it soften slightly at room temperature if it becomes too hard.
- If you want to enjoy it in a dessert, consider pairing it with warm options like brownies or apple crisp for a delightful contrast!
FAQs
Here are some common questions about making Homemade Maple Ice Cream that might help you out!
Can I use maple syrup other than Grade B for my Homemade Maple Ice Cream?
While Grade B maple syrup is often recommended for its robust flavor, Grade A can also be used. Just keep in mind that the flavor will be lighter.
How long does Homemade Maple Ice Cream last in the freezer?
Homemade Maple Ice Cream can last up to two weeks in the freezer when stored properly. After that, it may start losing its creamy texture.
What is the best way to serve Homemade Maple Ice Cream?
The best way to serve your Homemade Maple Ice Cream is straight from the freezer! Consider topping it with crushed nuts, fresh fruit, or drizzling more maple syrup over it for an extra treat.
Can I add mix-ins to my Homemade Maple Ice Cream?
Absolutely! Feel free to fold in chocolate chips, crushed cookies, or even pieces of fruit during the last few minutes of churning for added texture and flavor.
Final Thoughts
Thank you so much for joining me on this sweet journey of making Homemade Maple Ice Cream! This recipe promises not only a delightful treat but also brings warmth and joy as you share it with family and friends. I truly hope you enjoy creating this creamy goodness as much as I do. Don’t hesitate to try it out and let your taste buds revel in its deliciousness! Happy ice cream making!
Homemade Maple Ice Cream
Indulge in the creamy delight of Homemade Maple Ice Cream, a perfect treat that blends rich maple flavor with a smooth texture. This easy-to-make dessert is ideal for any occasion, whether you’re celebrating a birthday or simply enjoying a cozy evening at home. With its comforting taste and simple ingredients, it’s sure to become a family favorite. Pair it with your favorite desserts or enjoy it on its own for an exquisite experience. With just a few steps, you can create this artisanal ice cream that will impress both kids and adults alike!
- Prep Time: 15 minutes
- Cook Time: 15 minutes
- Total Time: 30 minutes
- Yield: Approximately 6 servings 1x
- Category: Dessert
- Method: Churning
- Cuisine: American
Ingredients
- 6 egg yolks
- 3/4 cup maple syrup (Grade B)
- 1 tsp arrowroot (or cornstarch)
- 1/4 tsp sea salt
- 1 1/2 cups half-and-half
- 1 1/2 cups heavy cream
- 1 tsp vanilla extract
Instructions
- Whisk together egg yolks, maple syrup, arrowroot, and sea salt until fully combined.
- Gradually whisk in half-and-half. Cook over medium-high heat while stirring constantly until slightly thickened.
- Remove from heat and stir in heavy cream and vanilla extract.
- Strain the mixture into another bowl and chill in the refrigerator for at least 4 hours.
- Freeze according to your ice cream maker's instructions until firm.
- Transfer to an airtight container and freeze for an additional 4-6 hours before serving.
Nutrition
- Serving Size: 1/2 cup (120g)
- Calories: 280
- Sugar: 24g
- Sodium: 40mg
- Fat: 20g
- Saturated Fat: 12g
- Unsaturated Fat: 8g
- Trans Fat: 0g
- Carbohydrates: 26g
- Fiber: 0g
- Protein: 3g
- Cholesterol: 200mg