Samoa Energy Balls
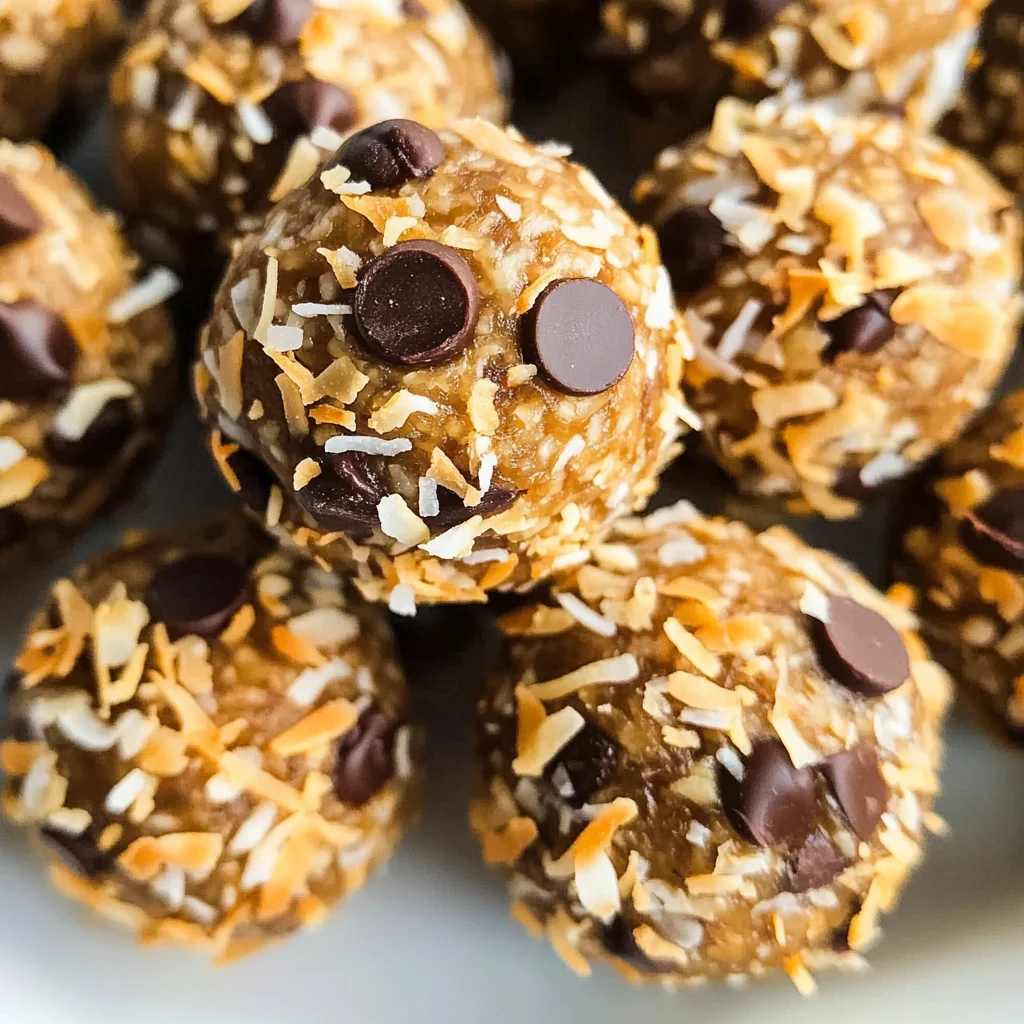
If you’re looking for a delicious and healthy snack that satisfies your sweet tooth, you’ve come to the right place! These Samoa Energy Balls are inspired by those iconic Girl Scout cookies we all love, and they pack a powerful punch of flavor. With chewy dates, rich chocolate, and crunchy toasted coconut, these little bites are perfect for busy weeknights or family gatherings. Plus, they’re easy to make, so you can whip up a batch whenever the craving strikes!
These energy balls not only taste amazing but also provide a nutritious boost to keep your energy levels up throughout the day. Whether you’re heading out for an afternoon hike or need a quick pick-me-up while working from home, these Samoa Energy Balls are here to save the day!
Why You’ll Love This Recipe
- Quick to prepare: With just 15 minutes of prep time, you can have these delightful snacks ready in no time.
- Family-friendly: Kids and adults alike will love the sweet flavors and chewy texture—perfect for sharing!
- Make-ahead convenience: Store them in the fridge or freezer for a healthy treat on demand.
- Wholesome ingredients: Made with simple, nutritious ingredients that you can feel good about.
Ingredients You’ll Need
Let’s take a look at the wholesome ingredients that make these Samoa Energy Balls so special. You likely have most of them in your kitchen already!
For the Base
- 2 cups (about 20) medjool dates, pitted
- 1 cup unsweetened shredded coconut (divided)
- 1/4 teaspoon sea salt
- 1/4 teaspoon vanilla extract
- 1 Tablespoon almond butter (optional)
For the Chocolate Flavor
- 2 Tablespoons chocolate chips or dark chocolate pieces (divided)
Variations
One of the best things about these Samoa Energy Balls is how flexible they are! Feel free to get creative with your ingredients.
- Add some crunch: Mix in your favorite nuts like almonds or walnuts for added texture.
- Boost the protein: Incorporate protein powder into the mix for an extra nutritional punch.
- Make it nut-free: Swap almond butter for sunflower seed butter if you want to keep it nut-free.
- Change up the sweetener: If you prefer, use maple syrup or agave nectar instead of dates for a different flavor profile.
How to Make Samoa Energy Balls
Step 1: Toast the Coconut
Start by preheating your oven to 400°F. Spread all that beautiful shredded coconut onto a baking sheet. Toasting it brings out its natural sweetness and gives it a lovely golden color. Keep an eye on it as it bakes—coconut can go from perfectly toasted to burnt in just seconds!
Step 2: Process Your Ingredients
Once your coconut is toasted and cooled slightly, it’s time to blend! In your food processor (or mini chopper), combine the pitted medjool dates, almond butter (if using), 2/3 cup of toasted coconut, 1 tablespoon of chocolate chips, sea salt, and vanilla extract. Pulse until everything comes together and forms a dough ball. This step is crucial because it ensures all those yummy flavors meld together.
Step 3: Roll into Balls
Now comes the fun part! Using clean hands or a cookie scoop, pinch off small amounts of dough and roll them into about 16 balls. As you work with the dough, add in that last tablespoon of chocolate chips for an extra burst of chocolaty goodness.
Step 4: Coat with Coconut
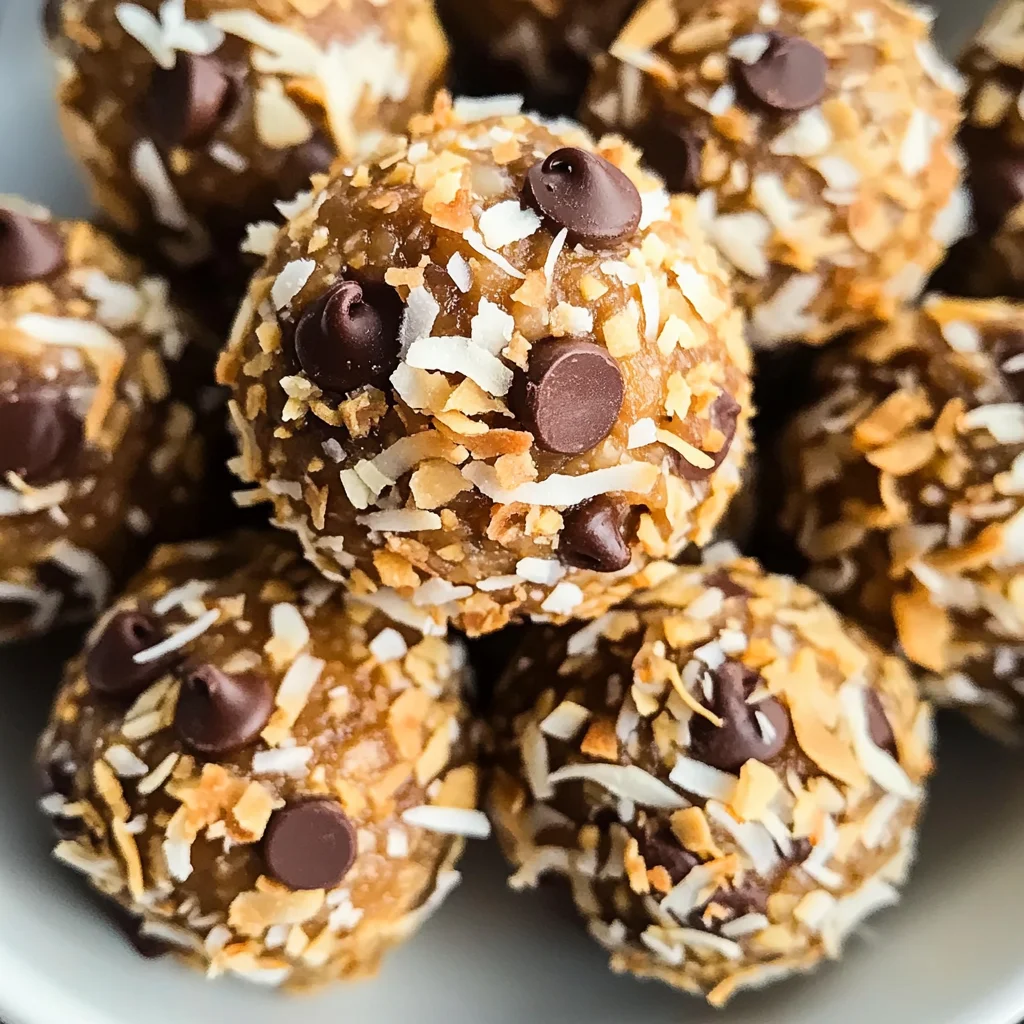
Take those rolled balls and roll them in the remaining 1/3 cup of toasted coconut. This final touch not only adds flavor but also gives them that signature Samoa look!
Step 5: Store Your Treats
Place your completed Samoa Energy Balls into a sealed storage container. They’ll keep well in the fridge for about 1-2 weeks or can be frozen for up to 3 months. Just grab one whenever you need a tasty snack!
And there you have it—your very own batch of delightful Samoa Energy Balls! Enjoy every bite!
Pro Tips for Making Samoa Energy Balls
Making Samoa energy balls is a breeze, but these tips will help you take your treats to the next level!
-
Use fresh dates: Fresh medjool dates provide the best flavor and texture. If your dates are a bit dry, soak them in warm water for 10 minutes to rehydrate before using.
-
Toast the coconut evenly: Make sure to stir the shredded coconut halfway through the toasting process. This ensures it browns evenly and prevents burning, giving you that delightful crunch.
-
Customize with mix-ins: Feel free to add extras like chopped nuts or seeds for added texture and nutrition. This personal touch can make your energy balls even more unique and delicious!
-
Chill before serving: Refrigerating the energy balls for about 30 minutes allows them to set properly, making them easier to eat and enhancing their flavors.
-
Experiment with nut butters: While almond butter is great, trying other nut butters like cashew or sunflower seed butter can change the flavor profile and make these treats your own!
How to Serve Samoa Energy Balls
These delightful treats can be enjoyed in various ways, perfect for sharing at parties or enjoying as an on-the-go snack.
Garnishes
- Drizzle of melted chocolate: A light drizzle of melted dark chocolate over the energy balls adds a beautiful finish and enhances their chocolate flavor.
- Extra toasted coconut: Sprinkling some additional toasted coconut on top gives a visually appealing touch and boosts that signature crunch.
Side Dishes
- Fresh fruit platter: Serve with a colorful assortment of seasonal fruits like berries, oranges, or apples for a refreshing contrast.
- Yogurt dip: A simple yogurt dip (like coconut yogurt) provides creaminess that complements the chewy texture of the energy balls.
- Nut-based granola: Pairing these energy balls with a crunchy nut-based granola offers a satisfying mix of textures and flavors, making it a wholesome snack.
- Smoothies: A fruity smoothie can be a perfect accompaniment, providing hydration and additional nutrients while balancing out the sweet treat.
Enjoy these Samoa energy balls as a delightful snack or dessert—perfect for satisfying your sweet tooth without any of the guilt!
Make Ahead and Storage
These Samoa Energy Balls make for a fantastic meal prep snack! They’re not only quick to whip up but store well, making them perfect for on-the-go munching throughout the week.
Storing Leftovers
- Store the energy balls in a sealed container in the fridge for 1-2 weeks.
- For best texture and flavor, keep them in an airtight container.
Freezing
- To freeze, place the energy balls in a single layer on a baking sheet and freeze until solid.
- Once frozen, transfer them to a freezer-safe bag or container. They can last up to 3 months in the freezer.
Reheating
- These energy balls are best enjoyed cold or at room temperature; however, if you prefer them warm:
- Microwave for about 10-15 seconds to soften slightly before enjoying.
FAQs
Got questions? No worries! Here are some common queries about Samoa Energy Balls that might help.
Can I make Samoa Energy Balls without almond butter?
Yes, you can omit almond butter if you prefer. The energy balls will still turn out deliciously sweet and satisfying!
How do I store Samoa Energy Balls properly?
Store your Samoa Energy Balls in an airtight container in the fridge for up to 2 weeks or freeze them for longer-lasting snacks.
Are Samoa Energy Balls gluten-free?
Absolutely! All the ingredients used in this recipe are naturally gluten-free, making it a great option for those with gluten sensitivities.
Can I use other nuts instead of almond butter?
Definitely! Feel free to substitute with sunflower seed butter or cashew butter based on your preference and dietary needs.
How many calories are in Samoa Energy Balls?
Each ball contains approximately 113 calories, making them a guilt-free treat!
Final Thoughts
I hope this recipe brings joy and deliciousness into your kitchen! These Samoa Energy Balls are not just fun to make but also satisfy that sweet tooth while keeping things healthy. I’m excited for you to try this delightful treat—happy snacking!
Samoa Energy Balls
Indulge in the delightful flavors of Samoa Energy Balls, a healthy and satisfying snack inspired by your favorite Girl Scout cookies. These no-bake treats combine chewy dates, rich chocolate, and toasted coconut for a perfect balance of sweetness and texture. Ideal for busy weeknights or family gatherings, they can be made in just 15 minutes! Packed with wholesome ingredients, these energy balls offer a nutritious boost to keep you energized throughout the day—perfect for hiking adventures or quick office snacks. With endless possibilities for customization, you can easily make them your own. Get ready to enjoy guilt-free snacking with these scrumptious bites!
- Prep Time: 15 minutes
- Cook Time: 5 minutes
- Total Time: 20 minutes
- Yield: Approximately 16 servings 1x
- Category: Dessert
- Method: No-bake
- Cuisine: American
Ingredients
- 2 cups (about 20) medjool dates, pitted
- 1 cup unsweetened shredded coconut (divided)
- 1/4 teaspoon sea salt
- 1/4 teaspoon vanilla extract
- 1 Tablespoon almond butter (optional)
- 2 Tablespoons chocolate chips or dark chocolate pieces (divided)
Instructions
- Preheat oven to 400°F. Spread shredded coconut on a baking sheet and toast until golden, stirring halfway through.
- In a food processor, blend pitted dates, almond butter (if using), 2/3 cup toasted coconut, 1 tablespoon chocolate chips, sea salt, and vanilla extract until it forms a dough.
- Roll the mixture into approximately 16 balls using clean hands or a cookie scoop.
- Roll each ball in the remaining toasted coconut.
- Store in an airtight container in the fridge for 1-2 weeks or freeze for up to 3 months.
Nutrition
- Serving Size: 1 serving
- Calories: 113
- Sugar: 8g
- Sodium: 10mg
- Fat: 4g
- Saturated Fat: 2g
- Unsaturated Fat: 2g
- Trans Fat: 0g
- Carbohydrates: 17g
- Fiber: 2g
- Protein: 2g
- Cholesterol: 0mg


