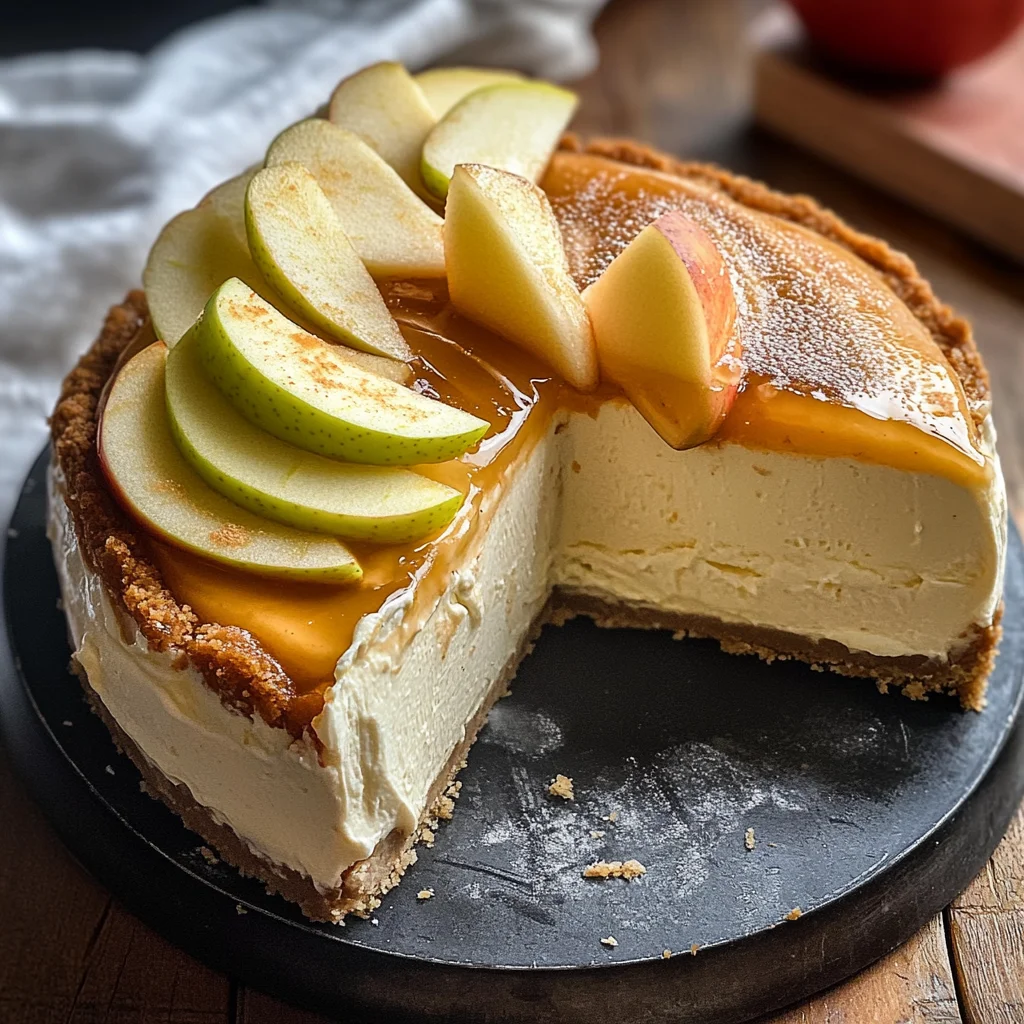
Apple Cider Cheesecake
If you’re looking for a dessert that captures the essence of autumn, this Apple Cider Cheesecake is just what you need. This recipe combines the creamy goodness of cheesecake with the delightful tang of fresh apple cider, creating a treat that is both comforting and sophisticated. It’s a perfect fit for family gatherings, cozy dinners with friends, or even just a special weeknight indulgence after a long day.
What makes this Apple Cider Cheesecake so special is not just its unique flavor but also how easy it is to make. You’ll find that the ingredients are simple and wholesome, making it approachable for bakers of all levels. Plus, the aroma of spiced apples wafting through your kitchen will have everyone eagerly waiting to dig in!
Why You’ll Love This Recipe
- Delicious Flavor: The combination of fresh apple cider and mulling spices gives this cheesecake a warm, autumn-like taste that everyone will love.
- Family-Friendly Appeal: Kids and adults alike will enjoy this creamy dessert; it’s sure to be a hit at any gathering.
- Make-Ahead Convenience: This cheesecake can be made a day in advance, allowing you to spend more time with your loved ones.
- Simple Ingredients: You’ll find most of these items in your pantry or local grocery store, making preparation hassle-free.
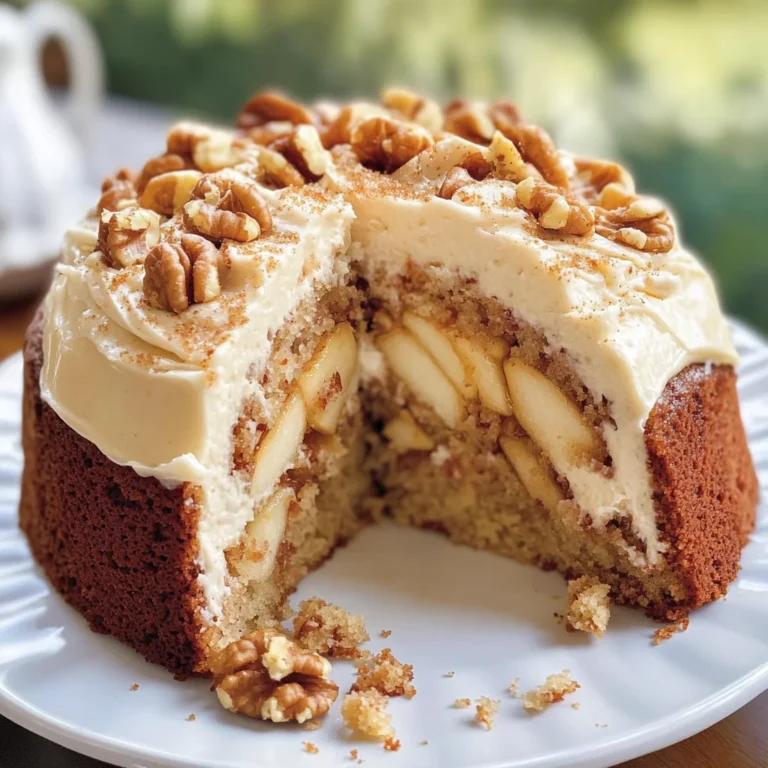
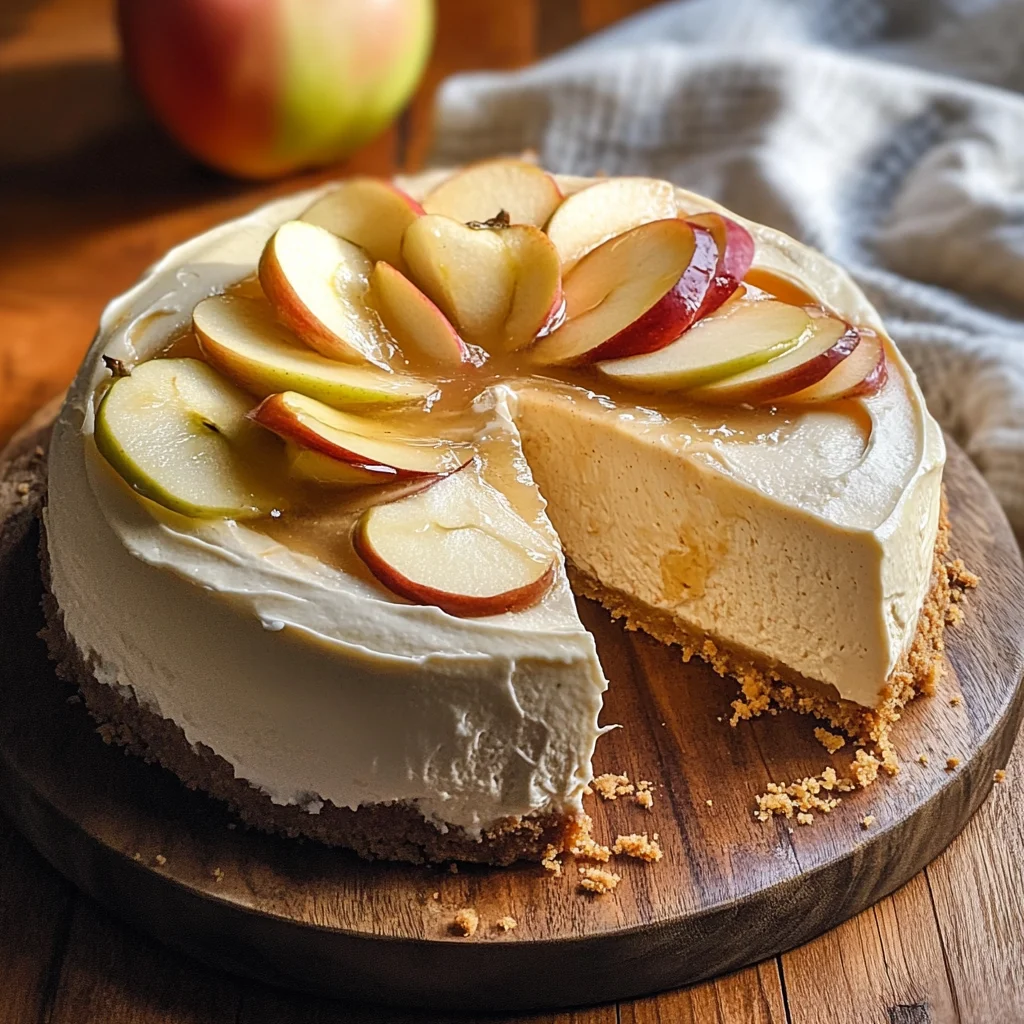
- Impressive Presentation: The beautiful layers and smooth texture create an elegant dessert that looks as good as it tastes.
Ingredients You’ll Need
Gathering these simple ingredients is part of the fun! Each component contributes to that delightful balance of flavors. Here’s what you’ll need:
For the Crust
- 2 cups digestive cookies or graham crackers (270g)
- ½ cup butter (melted) (113g)
- 1/4 teaspoon salt
- 2 tablespoons powdered sugar
For the Filling
- 3 cups fresh apple cider (honeycrisp cider is more tart!)
- mulling spices
- 3 cream cheese bricks (227g each, softened and at room temperature)
- 1 cup brown sugar (220g)
- ½ teaspoon salt
- 2 teaspoons pure vanilla extract
- 1 cup sour cream (240g)
- 1/3 cup reduced apple cider (from above)
- 1 teaspoon cinnamon
- 3 large eggs
- 2 tablespoons all-purpose flour
Variations
This recipe is wonderfully flexible! If you’re feeling adventurous or want to customize it to your taste, here are some ideas:
- Add More Spice: Enhance the flavor by adding extra cinnamon or nutmeg into the filling for an even warmer taste.
- Fruit Swirl: Before baking, swirl in some caramelized apples or pear puree on top for added fruitiness and texture.
- Nutty Crust: Replace half of the digestive cookies with crushed nuts like pecans or walnuts for an extra crunch.
- Vegan Option: Use a dairy-free cream cheese alternative and coconut yogurt instead of sour cream for a plant-based version.
How to Make Apple Cider Cheesecake
Step 1: Prepare the Reduced Cider
Start by boiling the fresh apple cider with mulling spices in a large pot over high heat. This process takes about an hour and is essential because it concentrates the flavors into a thick syrup. Once you’ve reached about 1/3 cup, set it aside to cool. This reduction will infuse your cheesecake with that delicious apple taste.
Step 2: Preheat Your Oven
While your cider cools, preheat your oven to 350°F. This step ensures even baking from the start.
Step 3: Make the Crust
In your food processor, pulse the digestive cookies until they are finely ground. Then add melted butter, salt, and powdered sugar. Pulse again until everything comes together into wet crumbs. Press this mixture firmly into an 8” round springform pan or cake pan lined with parchment paper. Bake it for 10 minutes and then let it cool before chilling.
Step 4: Prepare the Filling
Lower your oven temperature to 325°F. In a stand mixer fitted with a paddle attachment, beat together softened cream cheese and brown sugar until completely lump-free; this ensures a smooth filling later on. Scrape down the sides as needed during mixing.
Step 5: Combine Remaining Ingredients
Add in sour cream, vanilla extract, salt, cinnamon, and your cooled reduced cider into the cream cheese mixture. Beat until everything is well combined—this creates that lovely creamy texture we’re aiming for!
Step 6: Add Eggs and Flour
Gently add in eggs one at a time along with flour, mixing just until combined. Be careful not to overmix; we want our cheesecake light and airy!
Step 7: Bake in Water Bath
Place your cheesecake pan inside a larger pan filled with hot water—this water bath helps bake evenly without cracking. Pour your filling into the crust and bake for at least 90 minutes until gently set but still wobbly in the center.
Step 8: Cool Gradually
Once baked, turn off the oven but leave the cheesecake inside with the door cracked open using a wooden spoon for about 30 minutes. Then let it cool further on your counter before transferring it to chill in the fridge for at least 8 hours (or overnight if you can wait!).
And there you have it! A luscious Apple Cider Cheesecake ready to impress friends and family alike! Enjoy every creamy bite!
Pro Tips for Making Apple Cider Cheesecake
Making the perfect Apple Cider Cheesecake is all about attention to detail and patience! Here are some pro tips to help you create a show-stopping dessert.
-
Use Room Temperature Ingredients: Allow your cream cheese and eggs to come to room temperature before mixing. This ensures a smooth and creamy texture, preventing lumps in your cheesecake.
-
Monitor the Baking Time: Every oven is different. Keep an eye on your cheesecake as it bakes, and use the wobble test to check for doneness. The edges should be set, while the center remains slightly jiggly for that perfect creamy finish.
-
Don’t Rush the Cooling Process: Letting your cheesecake cool gradually in the oven helps prevent cracks. This method allows the cheesecake to settle without sudden temperature changes that can cause it to crack.
-
Chill Overnight: For the best flavor and texture, refrigerate your cheesecake overnight before serving. This waiting period allows all those delicious flavors to meld together beautifully.
-
Experiment with Flavors: Feel free to add a pinch of nutmeg or ginger along with the cinnamon in your filling for an extra kick of warmth and spice that complements the apple cider perfectly!
How to Serve Apple Cider Cheesecake
When it comes to serving your Apple Cider Cheesecake, presentation is key! With a few thoughtful touches, you can elevate this dessert from delicious to dazzling.
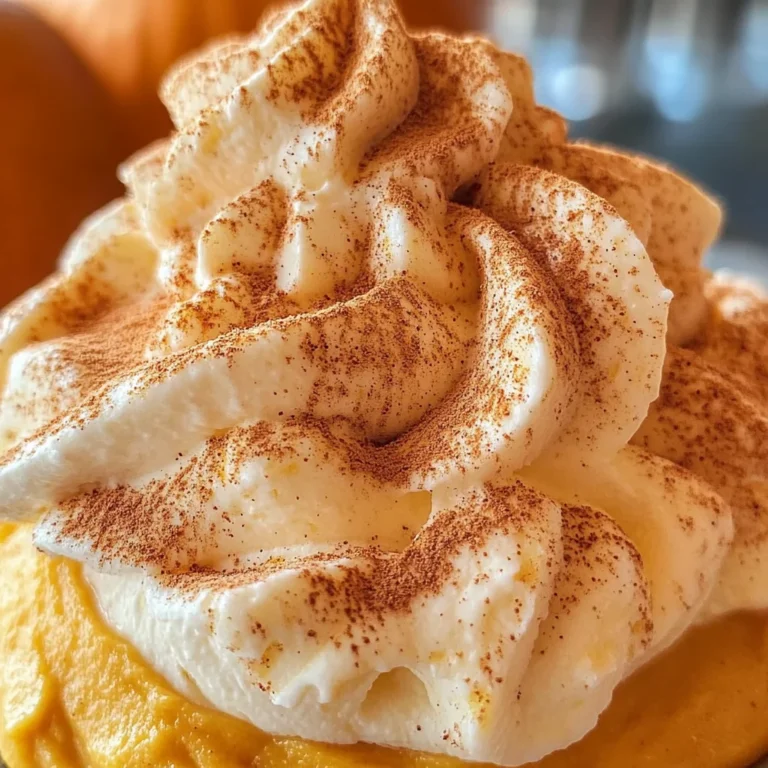
Garnishes
- Caramel Drizzle: A light drizzle of caramel sauce on top adds sweetness and a beautiful visual contrast against the creamy cheesecake.
- Whipped Coconut Cream: Light and fluffy whipped coconut cream makes for a dairy-free topping that pairs wonderfully with apple flavors.
- Sliced Apples: Thinly sliced apples tossed in a bit of lemon juice not only look stunning but also enhance that fresh apple flavor throughout each bite.
Side Dishes
- Cinnamon-Sugar Pecans: These crunchy nuts provide a delightful texture contrast and add a sweet-spicy flavor that complements the cheesecake perfectly.
- Vanilla Ice Cream: A scoop of vanilla ice cream alongside your slice of cheesecake creates a classic dessert duo that’s sure to please everyone at the table.
- Autumn Salad: A fresh salad made with mixed greens, dried cranberries, walnuts, and a light vinaigrette offers a refreshing balance to the rich cheesecake.
- Gingerbread Cookies: The warm spices in gingerbread cookies harmonize beautifully with the flavors of apple cider, making them a lovely addition to your dessert spread.
With these tips and serving ideas, your Apple Cider Cheesecake will not only taste divine but also look spectacular on any occasion! Enjoy every delicious bite!
Make Ahead and Storage
This Apple Cider Cheesecake is not only a delightful dessert but also perfect for meal prep. You can make it ahead of time for gatherings or simply to enjoy throughout the week!
Storing Leftovers
- Store any leftover cheesecake in an airtight container in the refrigerator.
- It will keep well for up to 5 days, maintaining its creamy texture and flavor.
- For best results, slice the cheesecake into individual portions before storing.
Freezing
- You can freeze the cheesecake for longer storage.
- Wrap it tightly in plastic wrap followed by aluminum foil to prevent freezer burn.
- It can be frozen for up to 3 months. Thaw in the refrigerator overnight before serving.
Reheating
- There’s no need to reheat cheesecake; it’s best enjoyed chilled!
- If preferred, you can let individual slices sit at room temperature for about 15-20 minutes before enjoying for optimal texture.
FAQs
Here are some common questions about making this delicious Apple Cider Cheesecake:
Can I use a different type of cider for my Apple Cider Cheesecake?
Absolutely! While honeycrisp cider adds a lovely tartness, feel free to use your favorite apple cider. Just ensure it’s fresh and has a good flavor profile.
How long does it take to make Apple Cider Cheesecake?
The total time includes about 30 minutes of prep and around 90 minutes of baking, plus cooling time. It’s worth every moment for that rich taste!
What is the best way to serve Apple Cider Cheesecake?
Serve your cheesecake chilled, topped with whipped cream or a sprinkle of cinnamon. Fresh apple slices on the side add a lovely touch too!
Can I customize my Apple Cider Cheesecake?
Definitely! You can add nuts or caramel drizzle on top before serving if you like extra texture or sweetness.
Final Thoughts
This Apple Cider Cheesecake is truly special, blending the comforting flavors of autumn with a creamy dessert that everyone will love. I hope you enjoy making this delightful treat as much as I do! Whether it’s for a holiday gathering or just because—this cheesecake is sure to impress. Happy baking!
Apple Cider Cheesecake
Indulge in the flavors of fall with this delightful Apple Cider Cheesecake. Combining the creamy richness of cheesecake with the refreshing tang of fresh apple cider and warming mulling spices, this dessert is perfect for any occasion. Whether you’re hosting a family gathering, enjoying a cozy evening with friends, or treating yourself after a long day, this cheesecake will impress with its sophisticated flavor and stunning presentation. Crafted from simple ingredients, it is approachable for bakers of all levels and offers an inviting aroma that fills your kitchen with autumn warmth.
- Prep Time: 30 minutes
- Cook Time: 90 minutes
- Total Time: 2 hours
- Yield: Serves approximately 12 slices 1x
- Category: Dessert
- Method: Baking
- Cuisine: American
Ingredients
- 2 cups digestive cookies or graham crackers (270g)
- ½ cup butter, melted (113g)
- 3 cups fresh apple cider
- 3 bricks cream cheese, softened (227g each)
- 1 cup brown sugar (220g)
- 1 cup sour cream (240g)
- 3 large eggs
- mulling spices
- 2 tablespoons all-purpose flour
Instructions
- Reduce apple cider by boiling it with mulling spices until thickened (about 1 hour). Cool.
- Preheat oven to 350°F (175°C).
- Make crust: Blend digestive cookies in a food processor, add melted butter, salt, and sugar. Press into an 8” springform pan and bake for 10 minutes.
- Lower oven to 325°F (160°C). Beat softened cream cheese and brown sugar until smooth; mix in sour cream, vanilla extract, salt, cinnamon, and cooled reduced cider.
- Add eggs one at a time and flour; mix until just combined.
- Pour filling into crust; bake in a water bath for about 90 minutes until set but wobbly.
- Cool in oven with the door cracked for 30 minutes then chill in fridge for at least 8 hours before serving.
Nutrition
- Serving Size: 1 serving
- Calories: 350
- Sugar: 24g
- Sodium: 270mg
- Fat: 24g
- Saturated Fat: 14g
- Unsaturated Fat: 9g
- Trans Fat: 0g
- Carbohydrates: 31g
- Fiber: 1g
- Protein: 6g
- Cholesterol: 80mg